Printer Not Printing in Color? 5 Ways to Fix It
By Deependra Pangeni Deependra Pangeni Computer Engineer ( B.E. in Comp Eng ) Meet Deependra Pangeni, A professional Computer Engineer who has been writing about technology for many years. He is also involved in different robotic projects and loves tinkering with circuit boards. Full Bio
Learn about our editorial policies Updated March 1, 2023
It is not uncommon for the printed material to appear differently on printouts than on computer screens. It is because of the color scheme they use—computers use the RGB color model, while printers use the CMYK color model. However, if you are getting a complete grayscale print from your printer, you should be concerned.
If your printer is not printing in color, it is possible that you have set the printer to print in grayscale color format—the printers can not print colored documents with grayscale settings enabled. Similarly, if you are running low on ink or your printer has a clogged printhead, it can not spray the ink onto the papers.
In this article, I have compiled various methods to troubleshoot this issue on your HP, Brother and Epson printer.
On your printer settings, you get to choose a printing preference—grayscale or color format. If the color setting is set to grayscale, you will not get a color print. So, you should first check the color settings and modify them accordingly.
On HP Printers
- Open Control Panel.
- Go to Hardware and Sound >Devices and Printers.
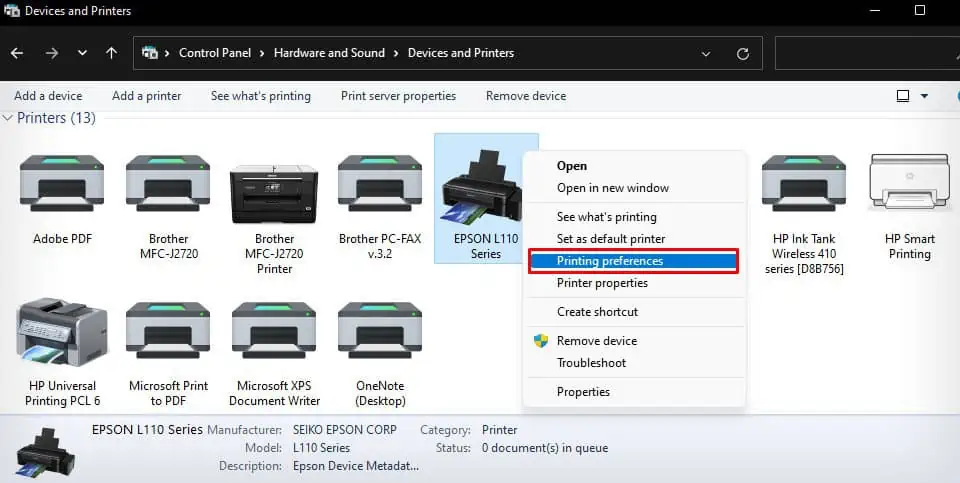
- Right-click over your HP printer and select Printing preferences.

- Go to the Paper/Quality tab and select Off in Print in Grayscale drop-down.
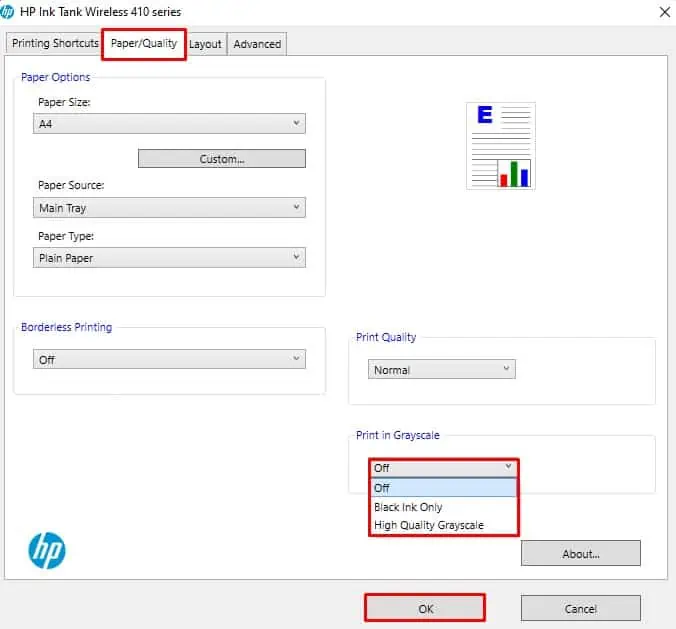
- Click OK.
On Brother Printers
- Open Control Panel and go to Hardware and Sound >Devices and Printers.
- Right-click your Brother printer and choose Printing preferences.

- Jump to the Advanced tab.
- Check the Color option in Color/Grayscale settings.
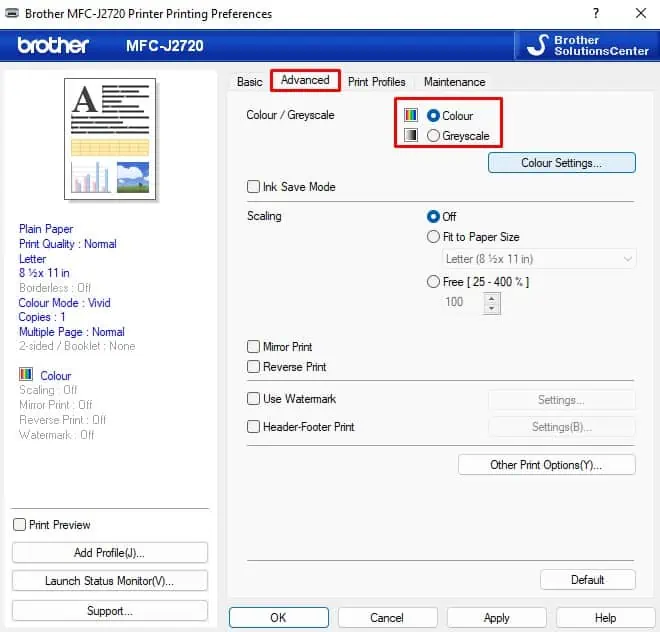
- Click Apply >OK.
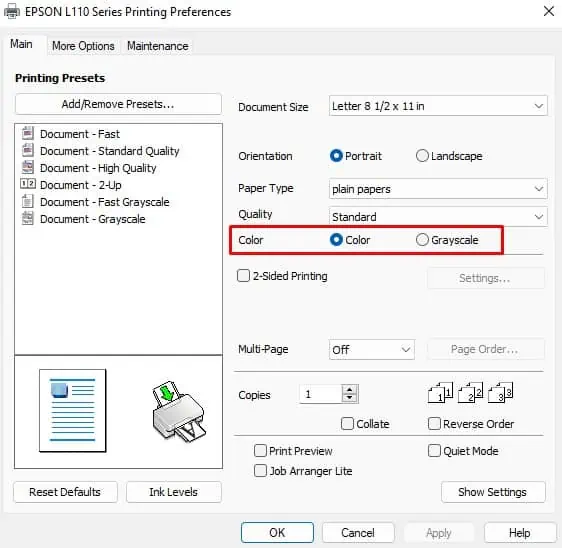
On Epson Printers
- Open the Printing preferences of your Epson printer.
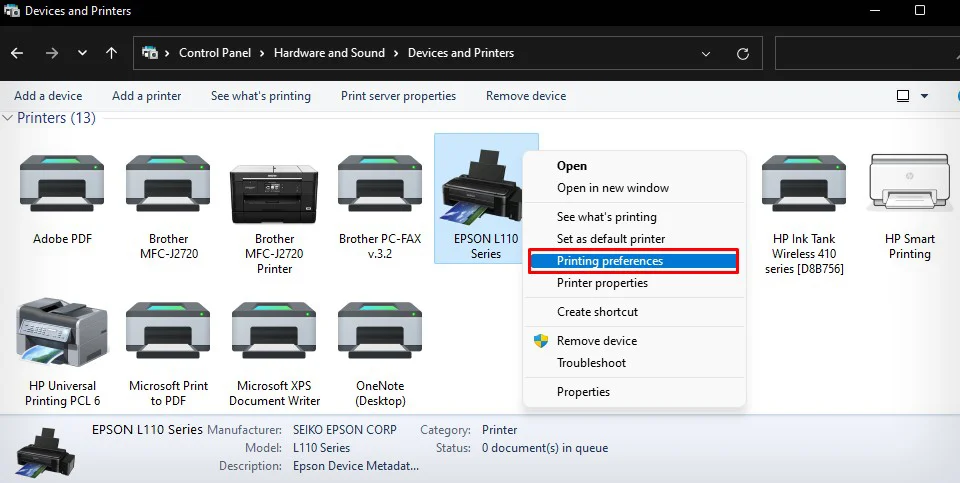
- Check the box next to Color and click Apply >OK.
Note: If you are unable to access these settings, you are not using the official drivers from your manufacturer. You can go to the official website of your printer manufacturer and install the compatible drivers.
Choose the Correct Paper Type
The color printing mechanism of the printer depends upon the type of paper inserted in the paper tray. For example, if you set the paper type as plain paper but insert photo paper in the tray, it can result in no color print issues. So, you should specify the correct paper type on the printing preferences of your printer.
Also, if the paper has a printing side and a non-printing side, make sure you insert it accordingly. You can try using another paper and see if the problem persists.
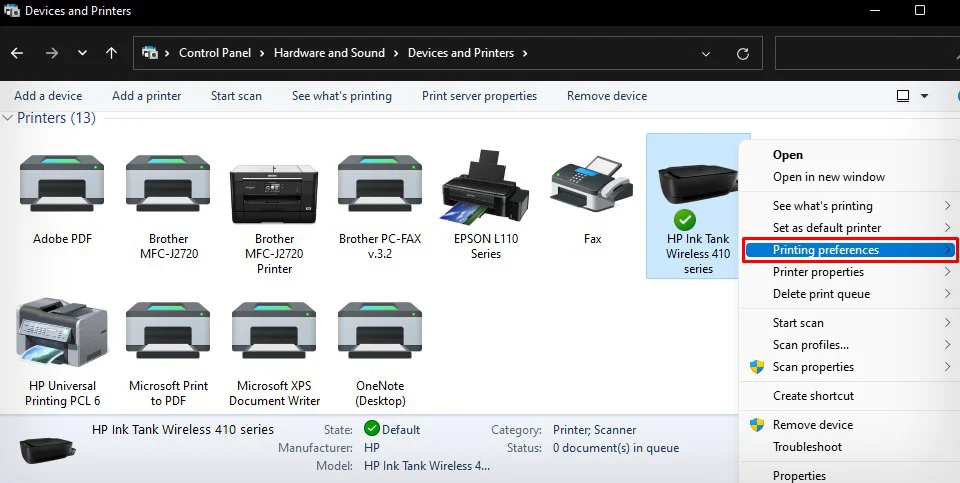
On HP Printers
- Open Control Panel and go to Hardware and Sound >Devices and Printers.
- Locate your HP printer profile and right-click over it.
- Choose Printing preferences.
- Click the Paper/Quality tab.
- Select the appropriate Paper Type from the drop-down.

- Click OK.
On Brother Printers
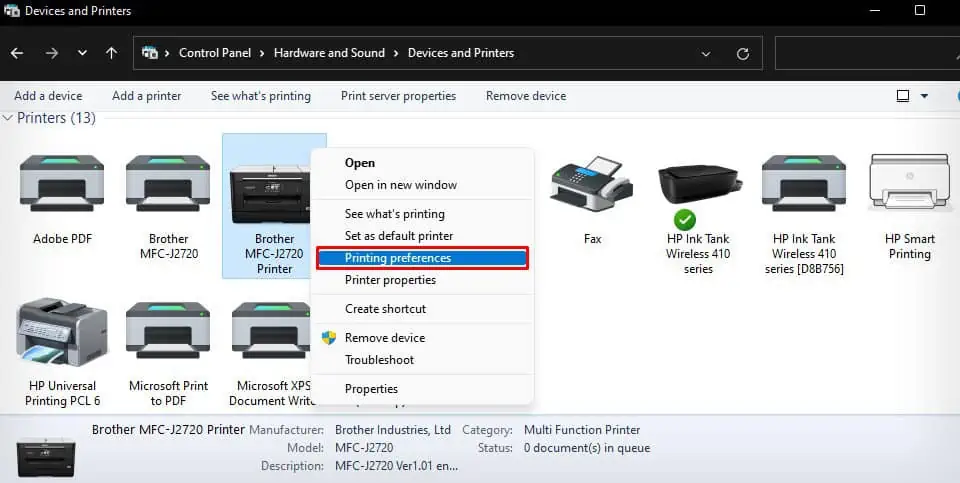
- Right-click your Brother printer on the Devices and Printers section of the Control Panel.
- Select Printing preferences.

- Select the paper type from the Media Type drop-down.
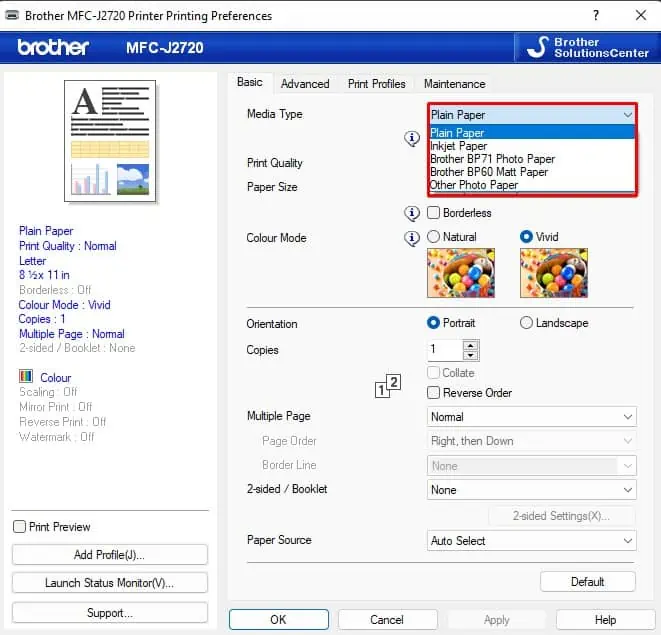
- Click OK.
On Epson Printers
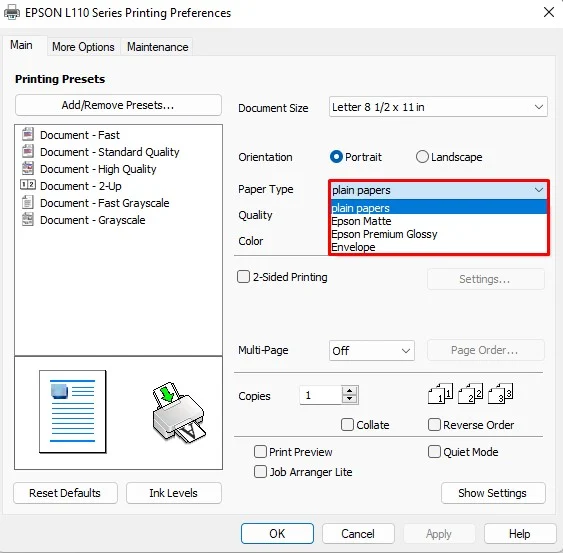
- Open the Printing preferences of your Epson printer.
- Select the Paper Type from the drop-down and click Apply >OK.
Check the Ink Levels
If you are not getting color print, there is also a high chance that the ink level on your printer has gone too low or is empty. As long as you have access to the ink tank, you can physically inspect the ink levels. Otherwise, you should go through the printer assistant tool of your printer to check the ink levels.
On HP Printers
- Launch Control Panel on your PC.
- Navigate to Hardware and Sound >Devices and Printers.
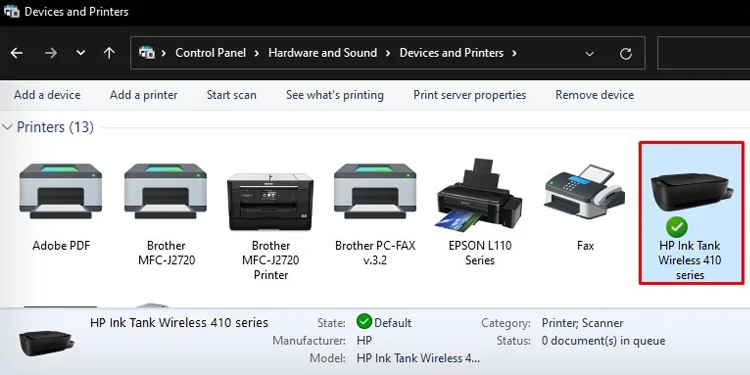
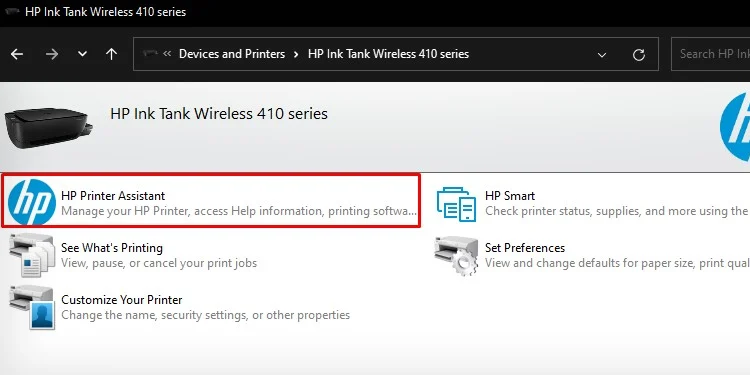
- Double-click your printer name.
- Open HP Printer Assistant.

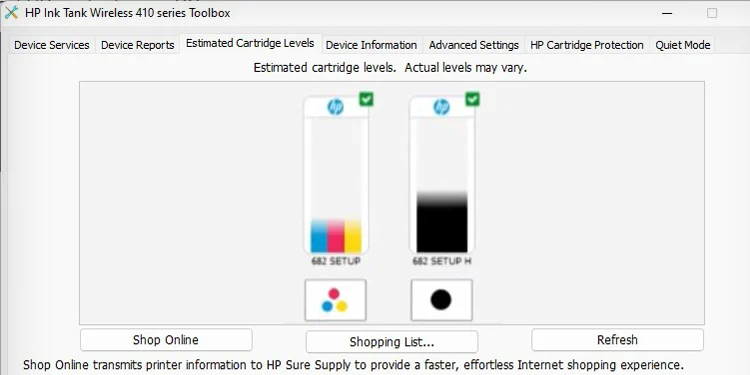
- Click Estimated Levels on the top.
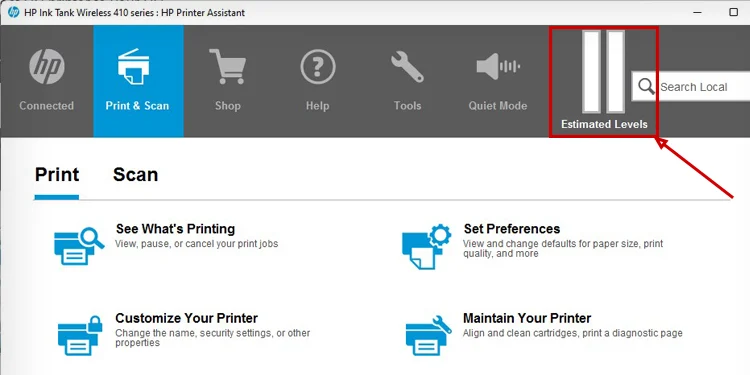
- Jump to the Estimated Cartridge Levels tab and see the ink level. If you find that the ink levels are too low, please refill the ink tank or change the ink cartridges.
For further reading, you may also refer our comprehensive guide on how to check the ink levels of your HP printer.
On Brother Printers
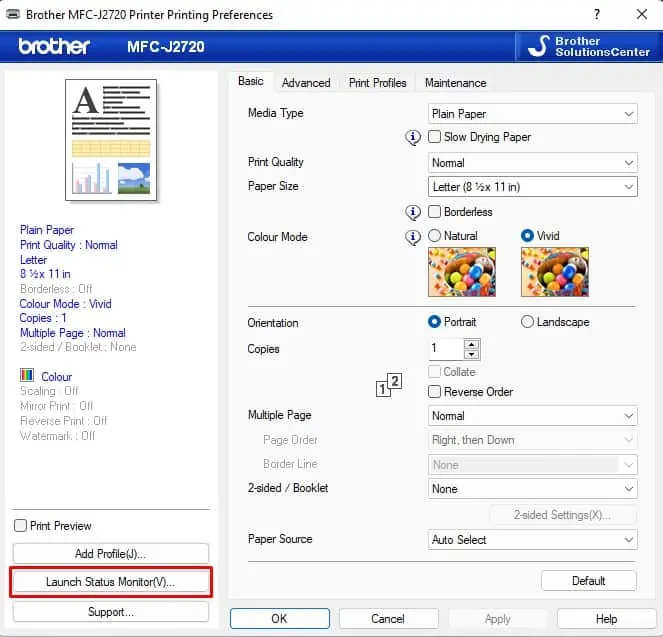
- Open the Printing preferences of your Brother printer.
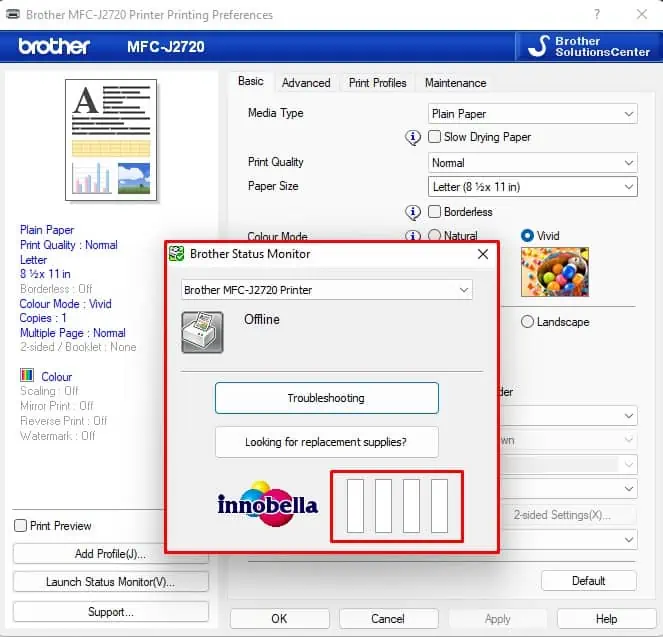
- Click the Launch Status Monitor button on the left side.
- You can see the ink levels on a small popup window.
On Epson Printers
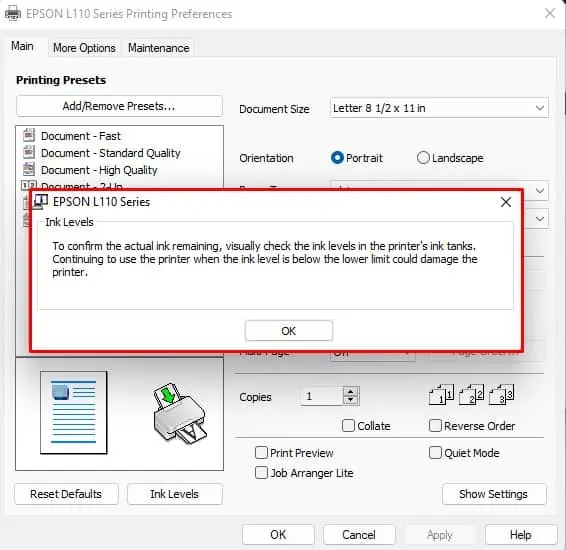
- Open the Printing preferences of your Epson printer.

- Click the Ink Levels tab.
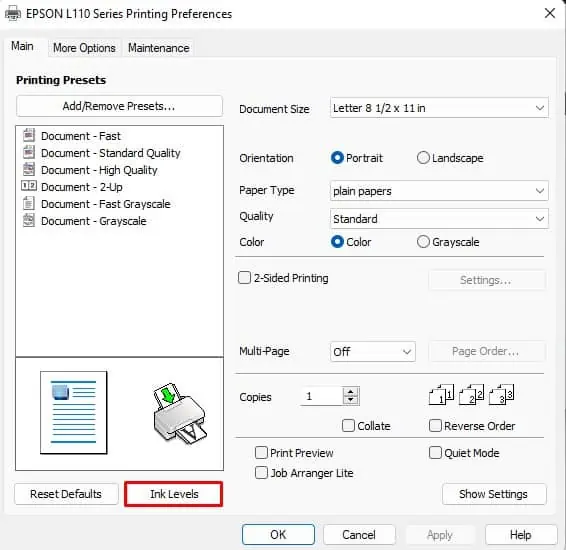
- It will show the ink levels on your printer. Depending upon the printer model, it may prompt you to check the ink levels visually.
Fix Alignment Issues
If you just changed the ink cartridges or are using the printer after a long time, there can also be printhead alignment issues. The improper positioning of the printhead can prevent it from spraying the ink correctly.
Moreover, make sure you are only using genuine ink cartridges. Sometimes, the printer refuses to print if you are using non-compatible cartridges.
On HP Printers
- Double-click your HP printer on the Devices and Printers section of the Control Panel.

- Open HP Printer Assistant.
- Tap Maintain Your Printer.

- Choose Align Cartridges.

- Select the Print alignment page and then click the Next button.

- The alignment page looks like this.
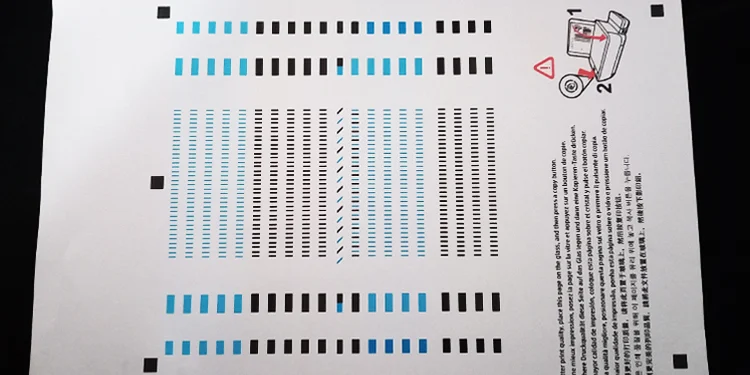
- Place it in the scanner bed by facing the printed side downwards.
- Click Scan.

- Wait till you get the alignment successful message.

You may further consult this detailed guide on how to align the printheads of HP printers.
On Brother Printers
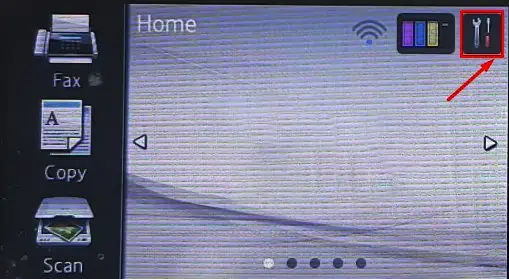
- Go to the display panel of your Brother printer and tap the Settings icon on the home screen.
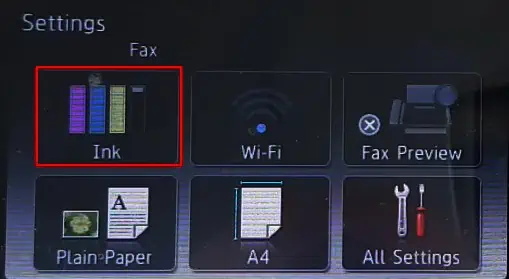
- Click the Ink tab.
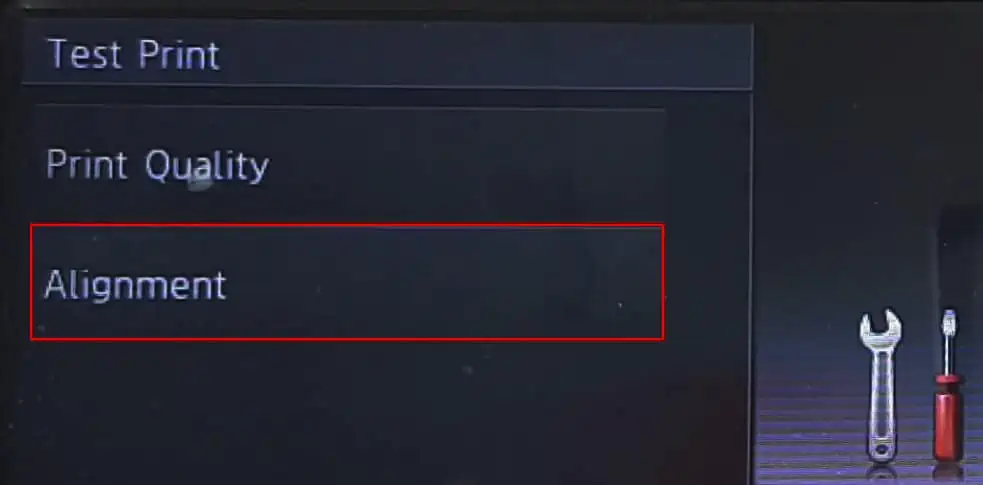
- Choose Test Print.

- Tap the Alignment option.
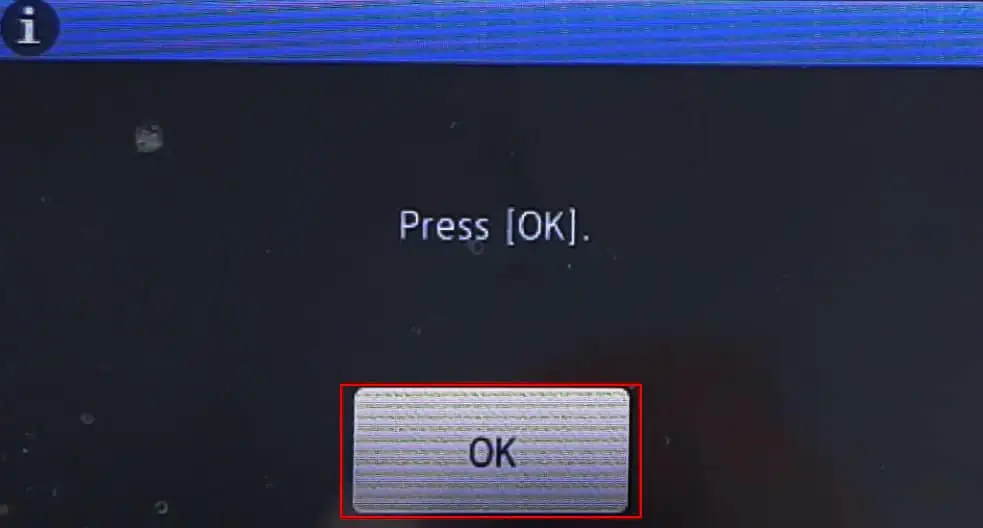
- Press OK to start the alignment process.
On Epson Printers
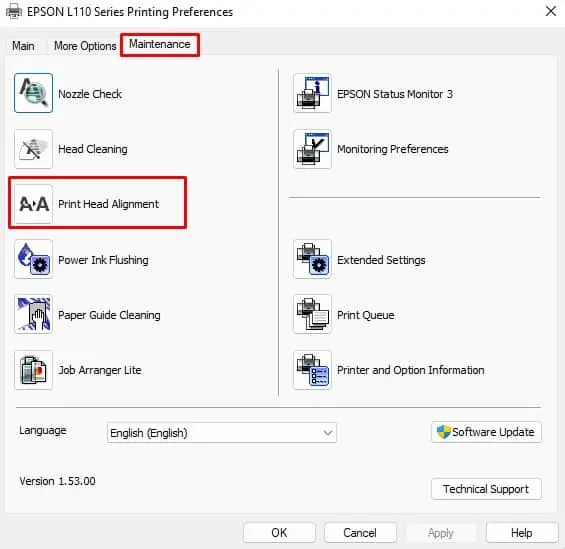
- Open the Printing preferences of your Epson printer.

- Go to the Maintenance tab and select Print Head Alignment.
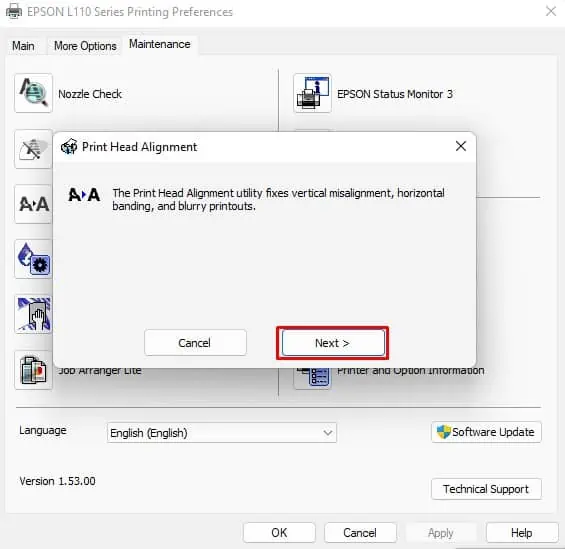
- Click Next in the popup.
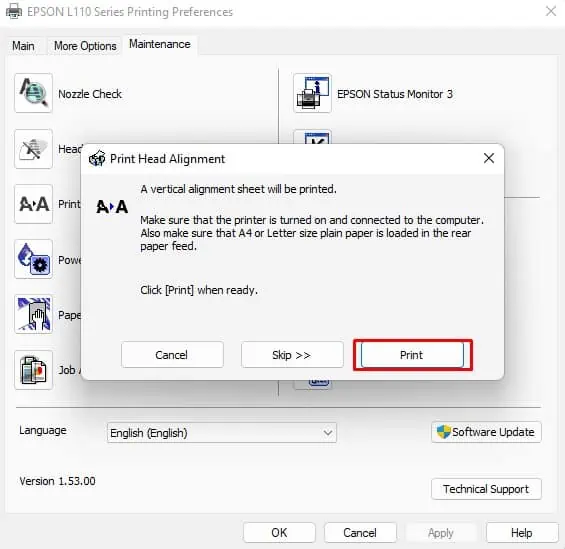
- Click the Print button and follow the on-screen instructions to complete the alignment process.
Clean the Printheads
Over time, the nozzle of the printhead gets clogged due to dried-up ink or environmental factors like dust and debris. It prevents the ink from spraying onto the paper. So, you can try cleaning the printheads of your printer and see if it solves the problem.
On HP Printers
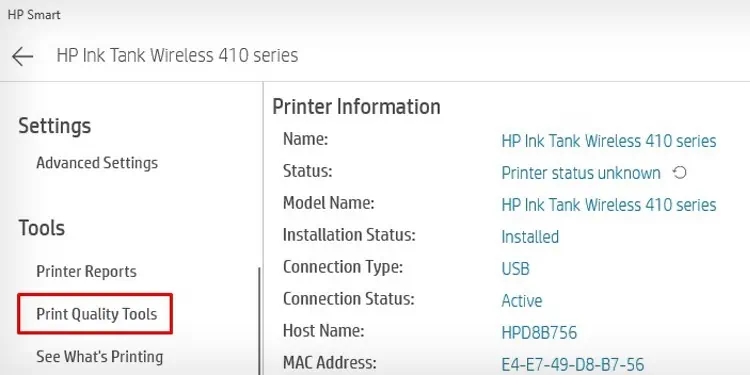
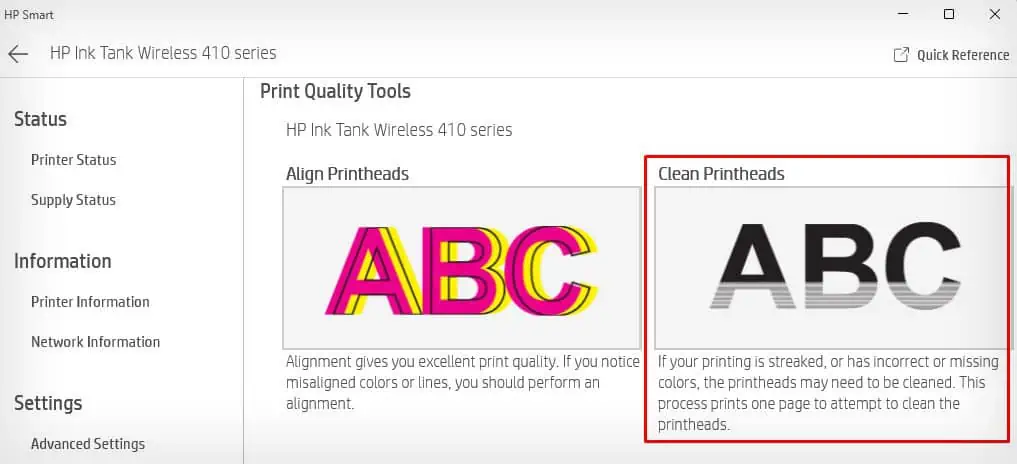
- Open HP Smart.

- Choose Printer Settings.

- Select Print Quality Tools under Tools.
- Choose Clean Printheads. It will take some time to clean. Please wait.
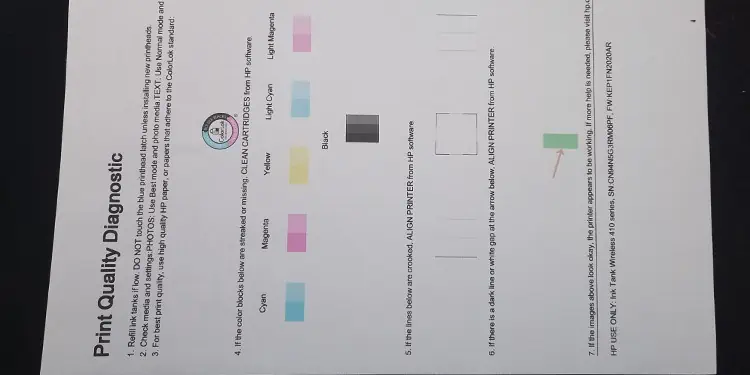
- It will print a Print Quality Report after completing the cleaning process. It looks like this. If you are not satisfied with the results, you can redo the cleaning process.
On Brother Printers
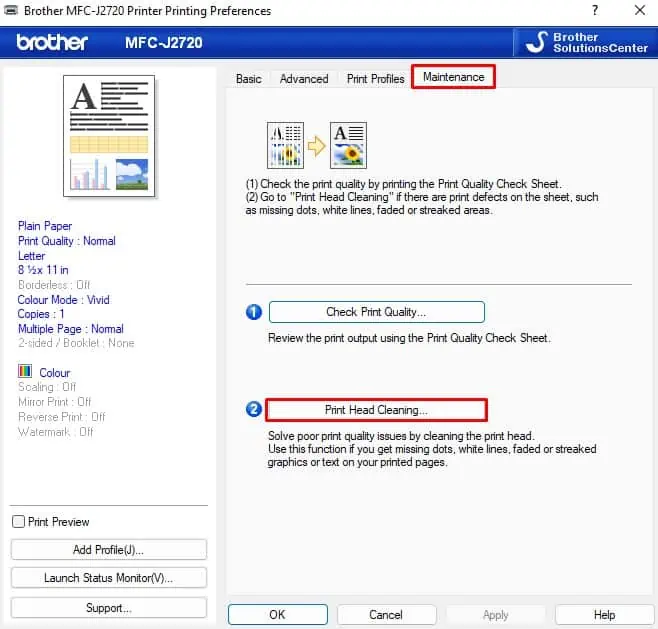
- Open the Printing preferences of your Brother printer.

- Go to the Maintenance tab.
- Click the Print Head Cleaning button and follow the on-screen instructions to complete the cleaning.
On Epson Printers
- Open the Printing preferences of your Epson printer.

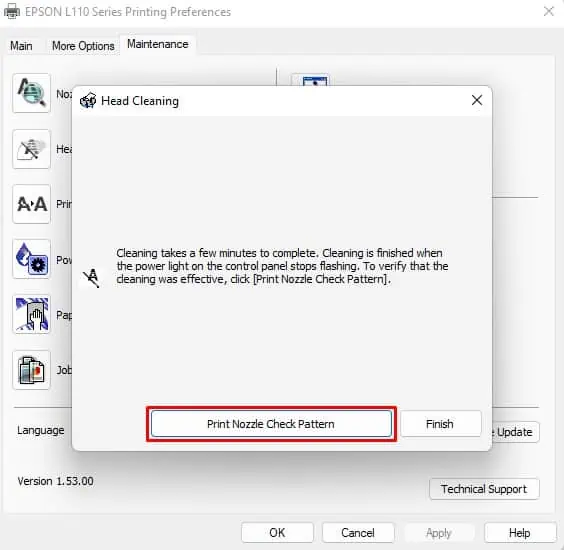
- Go to the Maintenance tab and select Head Cleaning.
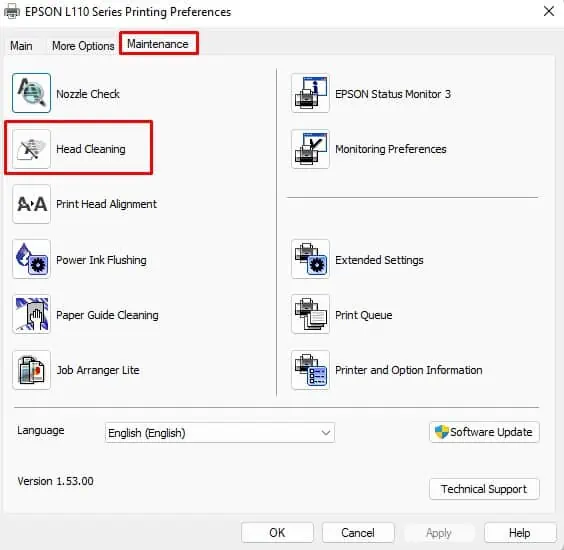
- Click the Start button in the popup window.
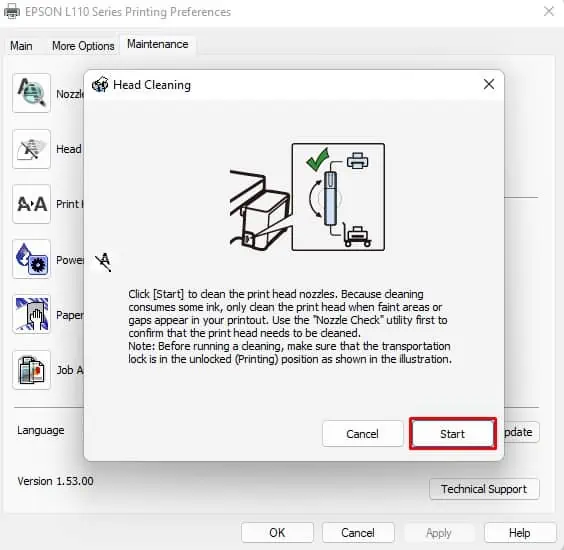
- You should then print a nozzle check pattern to verify if the cleaning was successful. Click Print Nozzle Check Pattern and follow the instructions on the screen to complete the process.